Building the 10 Minute DRSSTC Part 2: Construction and Assembly
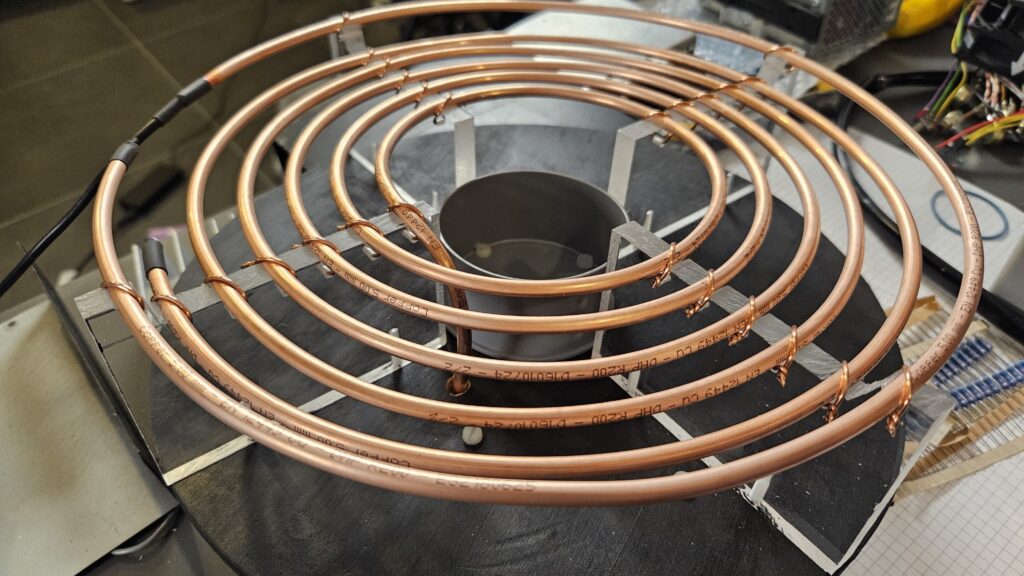
In this video we put together the components, found in part 1, that is needed to build the DRSSTC design that was done in 10’ish minutes. This video focusses on how good looking construction can be done with simple tools. No 3D printer or expensive tools are needed. Imagination and craftmanship is enough to get […]
Building the 10 Minute DRSSTC Part 2: Construction and Assembly Read More »
